
Install Portainer – The Docker Web Based Management UI
Portainer is a web based management UI for Docker hosts. Portainer runs as a lightweight Docker container on your Docker host. It’s a great tool for managing Docker containers graphically from the web browser. In this article, I will show you how to install Portainer on your Docker host. So, let’s get started.
Installing Docker on CentOS 7:
If you’re using CentOS 7, and you don’t have Docker installed on it, then I recommend you to take a look at it.
Installing Portainer:
Hopefully, at this point you have Docker installed on your computer. So, let’s install Portainer. First, create a Docker volume portainer_data with the following command:$ docker volume create portainer_data
Or,$ sudo docker volume create portainer_data

Now, create a Portainer Docker container with the following command:$ docker run -d -p 9000:9000 -v /var/run/docker.sock:/var/run/docker.sock
-v portainer_data:/data portainer/portainer
Or,$ sudo docker run -d -p 9000:9000 -v /var/run/docker.sock:/var/run/docker.sock
-v portainer_data:/data portainer/Portainer

As you can see, the Portainer Docker image is not available locally and it is being downloaded from the Docker image repository.

Very shortly, Portainer image should be downloaded and a container should be created.

Accessing Portainer Web Interface:
Now that Portainer Docker container is created, you can access it from any web browser on your network. First, run the following command to find out the IP address of your Docker host:$ ip a
As you can see, the IP address of my Docker host is 192.168.21.129.

Now, open up a web browser and visit http://192.168.21.129:9000 (change the IP address to your Docker host’s IP address).
You should see the following page. Now, to setup a password, type in your password and click on Create user.

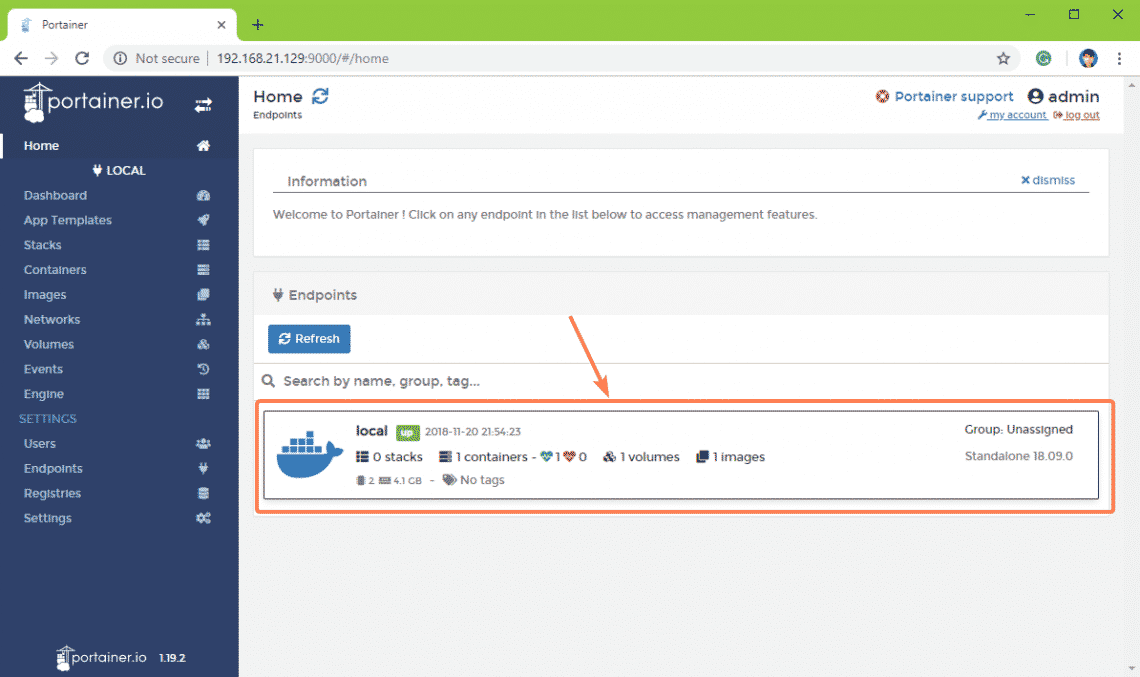
Now, select Local and click on Connect as marked in the screenshot below.

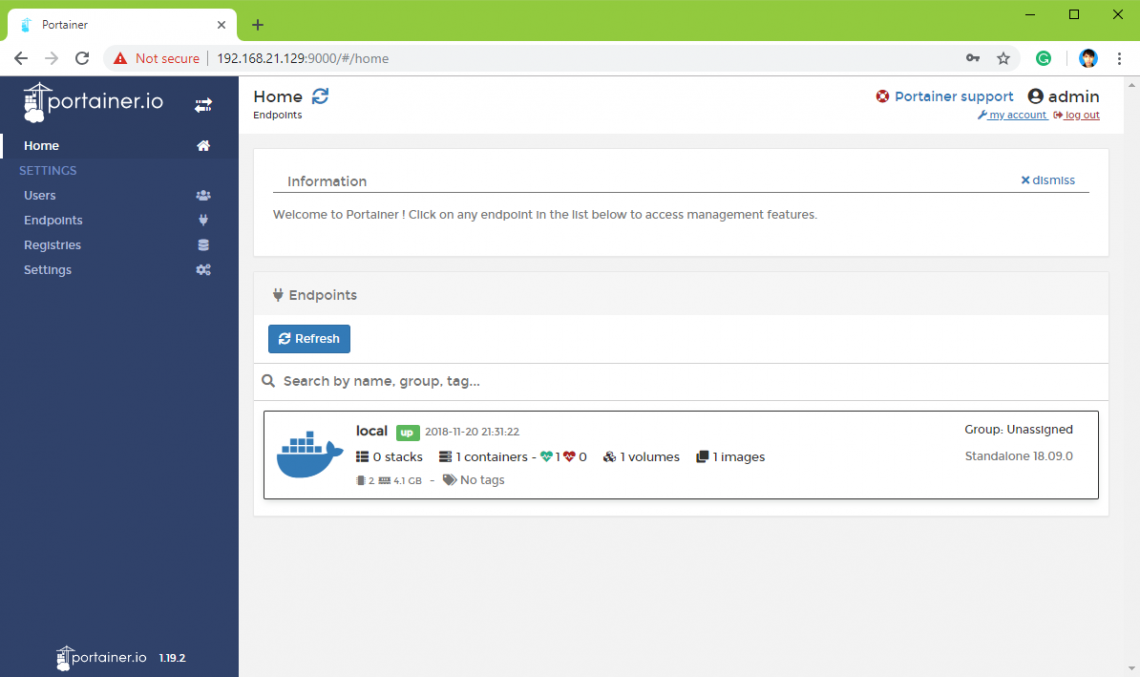
You should be redirected to the Portainer home page as you can see in the screenshot below.
Managing Docker Containers with Portainer Web Interface:
In this section, I will show you how to use Portainer web interface to manage Docker containers. So, let’s get started. On the Portainer home page, you can your connected Docker host as marked in the screenshot below. To access the Docker host, just click on it.
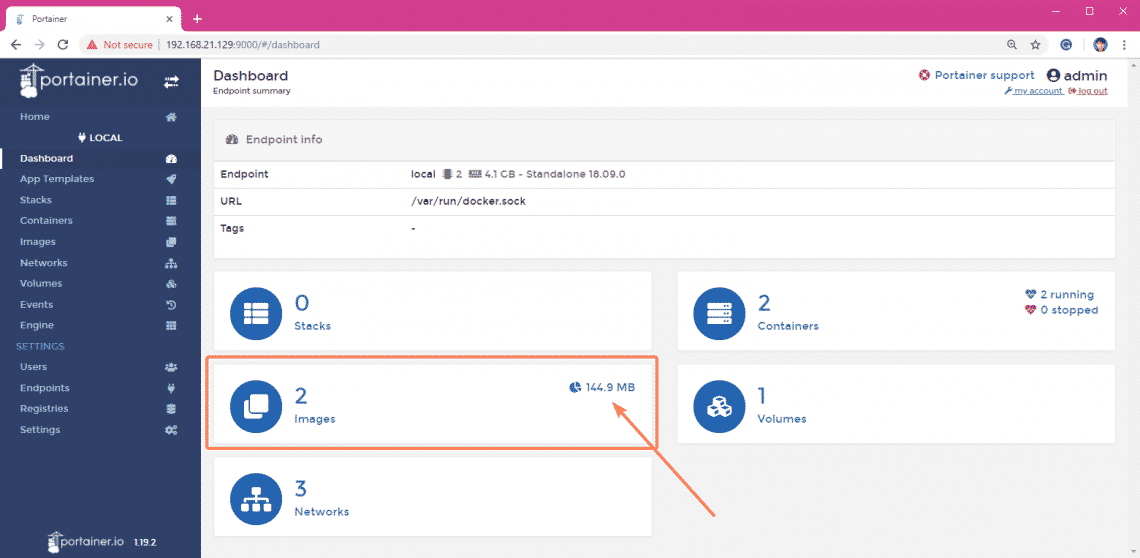
You should be redirected to the connected Docker host’s dashboard as you can see in the screenshot below. Here you can find out information such as how many Docker volumes you have, how many Docker images and containers you have and many more.

To manage your Docker containers, just click on Containers from the Dashboard as marked in the screenshot below.

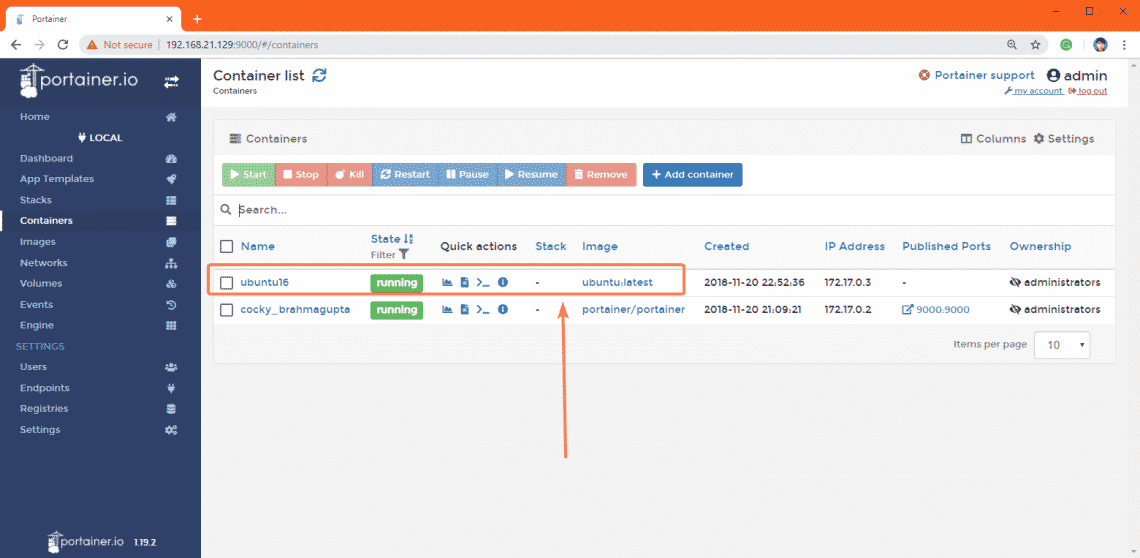
As you can see, all the Docker containers are listed here. To add a new container, click on Add container as marked in the screenshot below.

The Portainer container creation wizard should be displayed. It’s beautiful and easy to use interface for creating Docker containers. As you can see, you can set what commands to run when the container starts, it’s default working directory, default shell, add volumes, configure networking, configure environment variables and many more from here.
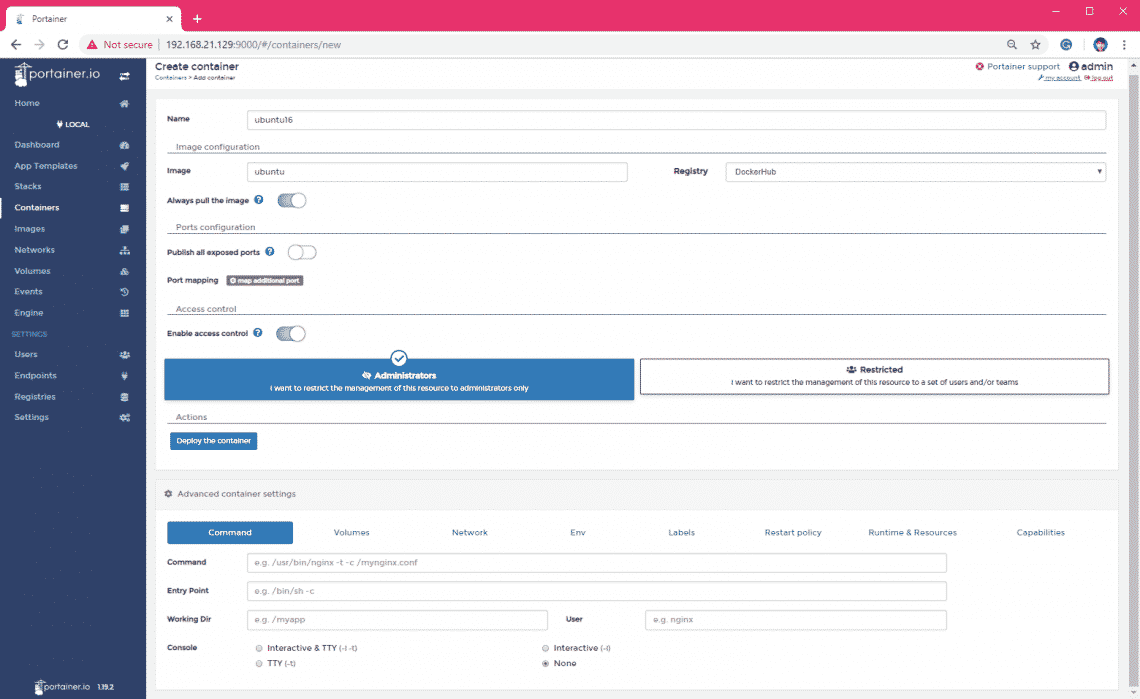
Once you’re done, click on Deploy the container as marked in the screenshot below.
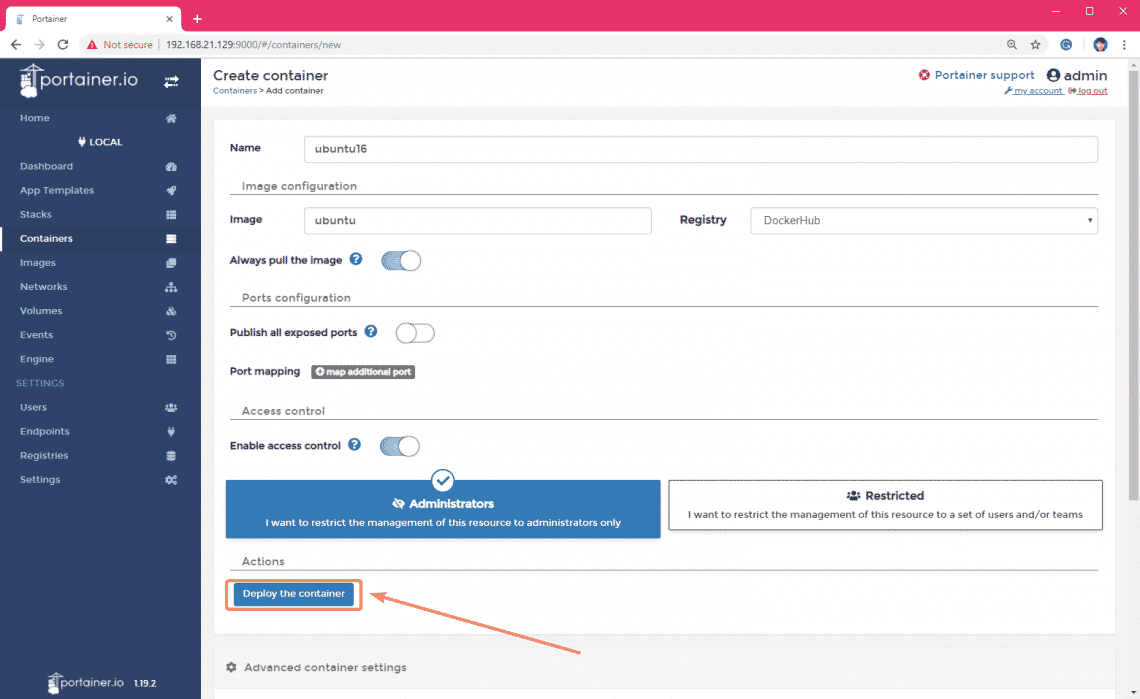
As you can see, the container is being created.

As you can see, a new container (ubuntu16 in my case) is created and it is running. If you want to see more details about the new container, then click on it.
As you can see, a lot of options about the new container is listed here. You can also start, stop, kill, restart, pause, resume, remove, duplicate, edit and recreate the container from here as you can see in the screenshot below.
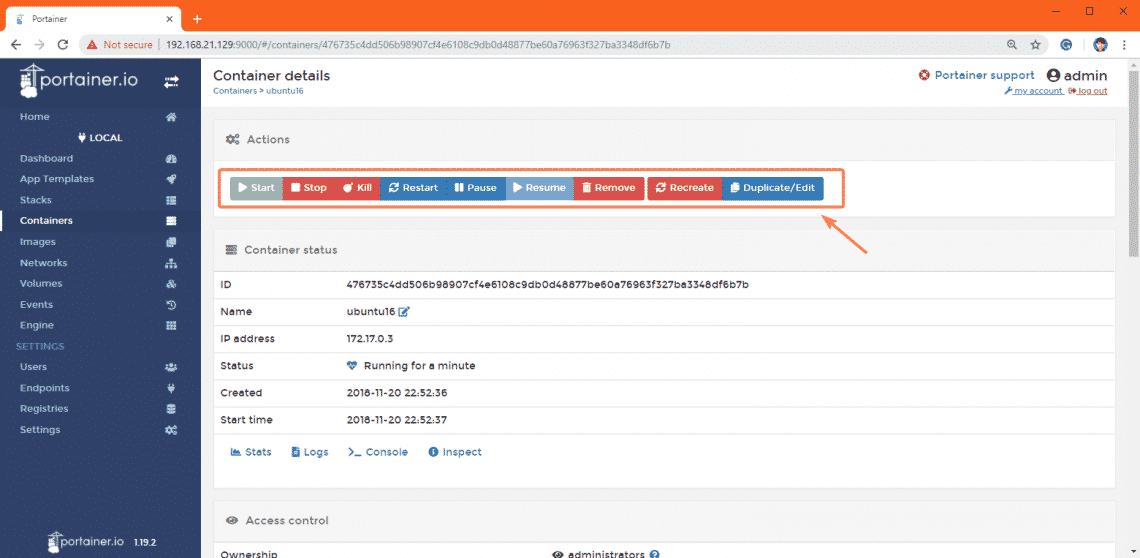
If you scroll down a little bit, you can also find other configuration options such as networking for this container.

As the container is running, you can access the console of this container. To do that, click on the console button as marked in the screenshot below.
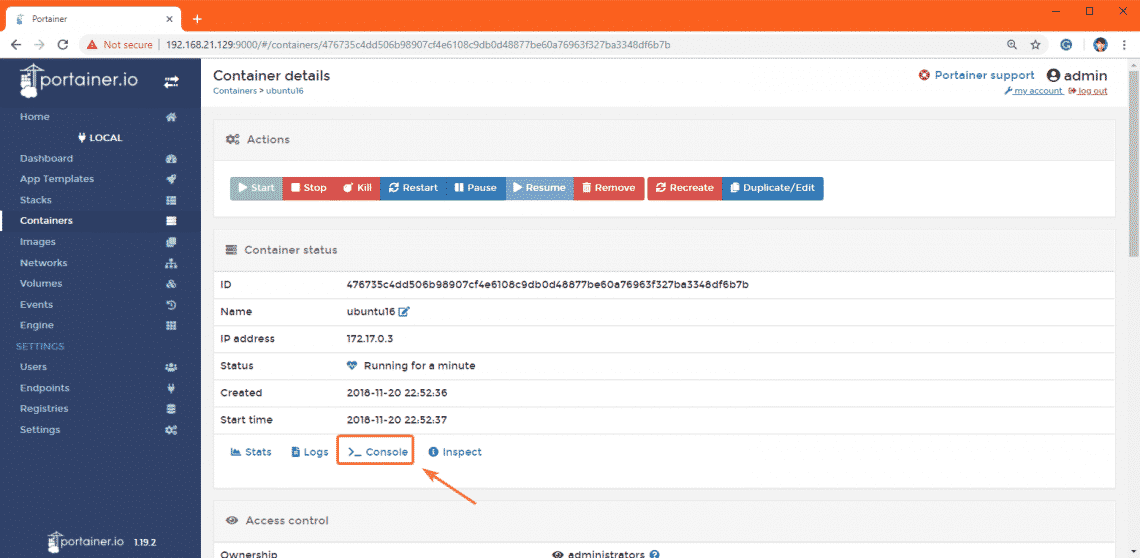
Now, click on Connect as marked in the screenshot below.

You should be connected to the console of your container. Now you can run any command you want in that container.
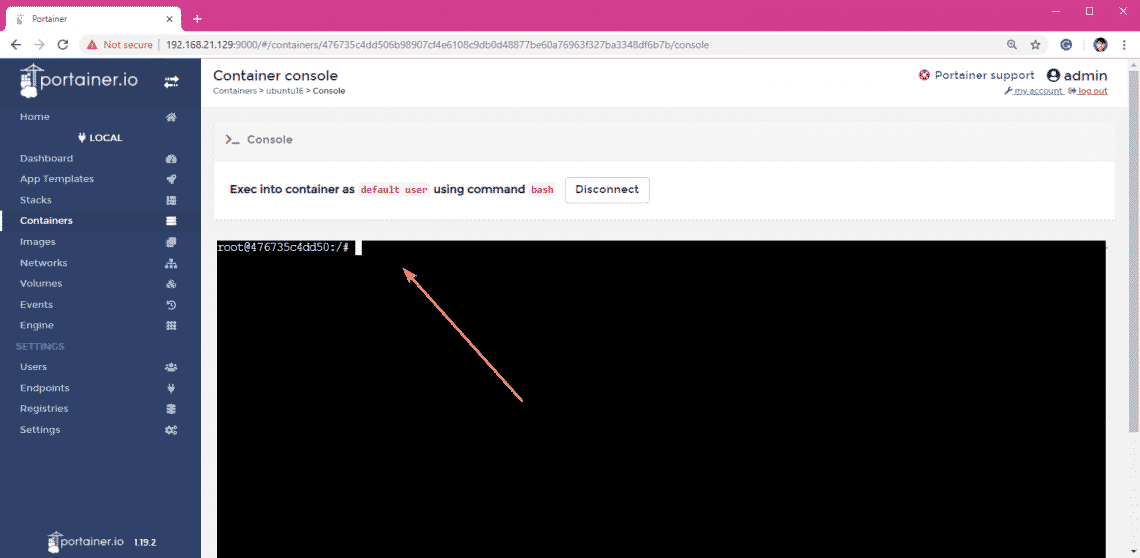
If you want to exit out of the console of your container, click on Disconnect as marked in the screenshot below.

Managing Docker Images with Portainer Web Interface:
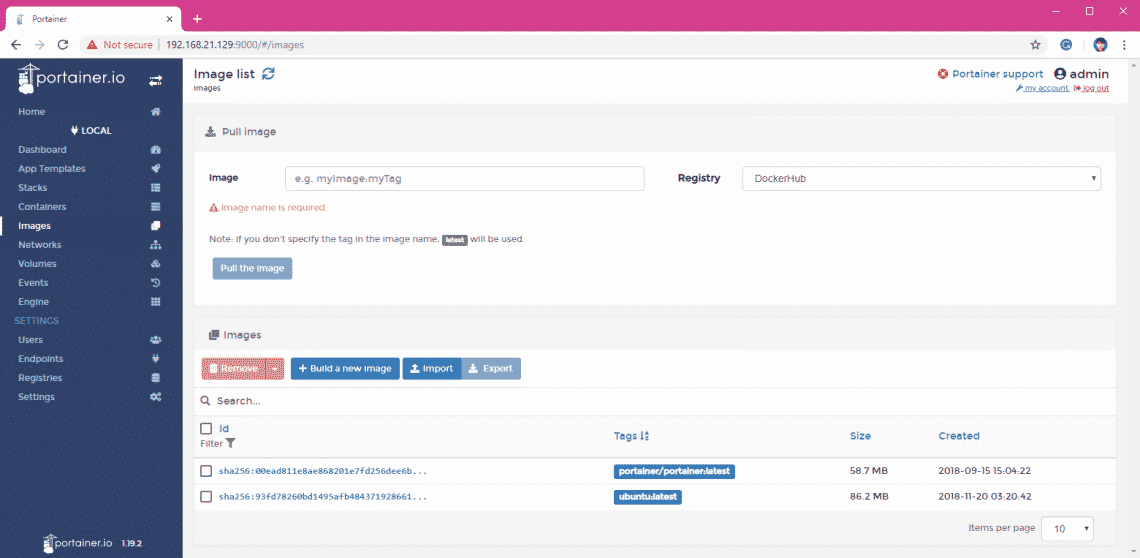
You can also manage Docker images using the Portainer web interface. To access the Docker images, just click on the Images icon from the Dashboard.
As you can see, all the locally available images are listed. You can also pull new Docker images from here. From here, you can delete, import & export, build new Docker images as well.
So, that’s how you install and use Portainer. Thanks for reading this article.
Hi, thank you for sharing this.
I might have lost you at the very end though (This is all quite new to me).
When i try to run my container ubuntu, it says that i is running, but when I refresh the page, it already has stopped. Trying to issue a command through >_ therefore is not working.
Without refreshing the sheet, I can access the page to issue a command, but logically it is saying “The container is not running”. It has something to do with the interactive-flag, I guess. I am bit clueless right now
I see now that in one of the pictures, suddenly the interactive flag got clicked (instead of “None”). While your whole explanation remains valid, pointing this out more in depth might help a lot of people like me. Most people will get confused when they see that they cannot enter the console, like you.
Thank you.