
Run MySQL & phpMyAdmin using Docker easy way
Installing a relational database with a web based management tool is a very common requirement for a wide range of software projects. Not too many years ago, developers needed to download and install these components manually into our local machines in order to be able to work. However, thanks to container based technologies like docker, we can get our environment up un running in 3 simple steps.
Environment
This step by step tutorial is written based on the following requirements:
- Operating System: Centos 7
- Docker Community: 19.3.12
Objectives
This tutorial aims to get up and running a fully functional platform with MySQL Community Edition + phpMyAdmin working on your local machine with the help of docker. Let’s briefly describe these elements.
MySQL Community Edition is a freely downloadable version of the world’s most popular open source database that is supported by an active community of open source developers and enthusiasts.
PhpMyAdmin is a free software tool written in PHP aims to provide an easy to use Web based interface to manage a wide range of operations on MySQL and MariaDB databases. Daily work operations like managing databases, tables, columns, relations, indexes, users, permissions can be performed via the user interface without missing the ability of executing any SQL statement.
Docker is a software platform designed to make it easier to create, deploy, and run applications by using containers. It allows developers to package up an application with all the parts it needs in a container, and then ship it out as one package.
Step 1: Obtaining and running MySQL docker container
Using docker allows us to get and run containers to execute a wide range of software packages, so a very popular software like MySQL, is not an exception.
Visit Docker Hub to find and download docker images including a countless list of software packages.
Open a terminal and run the command below in order to check your docker installation
$ docker version
Client: Docker Engine - Community
 Version:           18.09.2
 API version:       1.39
 Go version:        go1.10.8
 Git commit:        6247962
 Built:             Sun Feb 10 04:12:39 2019
 OS/Arch:           darwin/amd64
 Experimental:      falseServer: Docker Engine - Community
 Engine:
  Version:          18.09.2
  API version:      1.39 (minimum version 1.12)
  Go version:       go1.10.6
  Git commit:       6247962
  Built:            Sun Feb 10 04:13:06 2019
  OS/Arch:          linux/amd64
  Experimental:     true
If you get a message like the one displayed above, it means your docker installation is ok. Then you can proceed to obtain a MySQL docker image by typing the following:
$ docker pull mysql:8.0.1
The previous command will download the version 8.0.1 of mysql within an image available in the Docker store, so now you can run it into your local machine:
$ docker run --name my-own-mysql -e MYSQL_ROOT_PASSWORD=mypass123 -d mysql:8.0.1
Let’s explain the options for the command docker run.
- The option –name allows us to assign a specific name for our running container.
- The option -e is used to pass a value for the container environment variable MYSQL_ROOT_PASSWORD. This variable is requested by the image to run properly and it will be assigned to the root password of MySQL. More information about this image can be found in docker hub (here).
- The option -d means that docker will run the container in the background in “detached” mode. If -d is not used the container run in the default foreground mode.
- Finally, we need to indicate docker to use the image mysql:8.0.1 just downloaded, to run the container.
If everything went well you could see the running container by typing the following command:
$ docker ps -a
CONTAINER ID        IMAGE               COMMAND                  CREATED             STATUS              PORTS                 NAMES
d47128c8198c        mysql:8.0.1        "docker-entrypoint.s…"   33 seconds ago      Up 32 seconds       3306/tcp, 33060/tcp   my-own-mysql
Step 2: Obtaining and running phpMyAdmin docker container
Once the container running MySql server is working, the next step is configuring another container with phpMyAdmin. A quick search in docker hub by phpMyAdmin will show us a list of phpMyAdmin related images. In our case, we select the following one (https://hub.docker.com/r/phpmyadmin/phpmyadmin) which includes, not only an instance of phpMyAdmin, but also all components required by the app like a Nginx web server with PHP.
To download the latest stable version of the image, open a terminal and type the following:
$ docker pull phpmyadmin/phpmyadmin:latest
After downloading the image, we need to run the container making sure that the container connects with the other container running mysql. In order to do so we type the following command:
$ docker run --name my-own-phpmyadmin -d --link my-own-mysql:db -p 8081:80 phpmyadmin/phpmyadmin
Let’s explain the options for the command docker run.
- The options name and d has been explained in the previous section.
- The option –-link provides access to another container running in the host. In our case the container is the one created in the previous section, called my-own-mysql and the resource accessed is the MySQL db.
- The mapping between the host ports and the container ports is done using the option -p followed by the port number of the host (8081) that will be redirected to the port number of the container (80, where the ngix server with the phpMyAdmin web app is installed).
- Finally, the docker run command needs the image used to create the container, so we will use the phpmyadmin image just pulled from docker hub.
If everything went well you could see the running container by typing the following command:
$ docker ps -a
The terminal should displays something like:

Step 3: Access phpMyAdmin
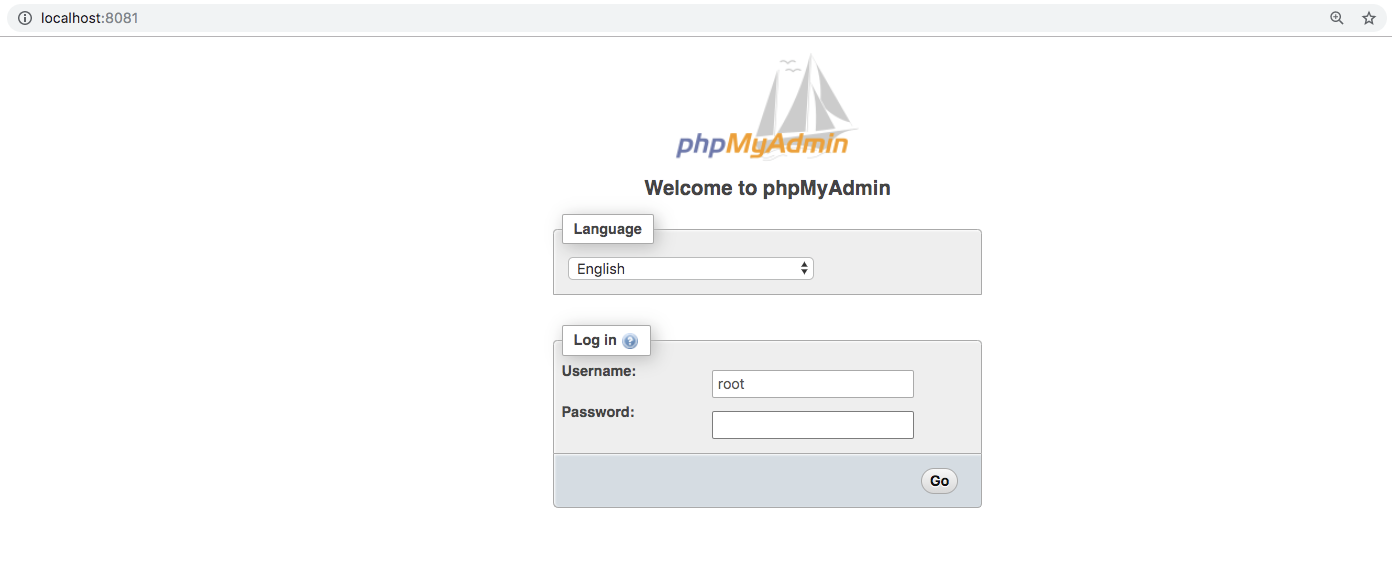
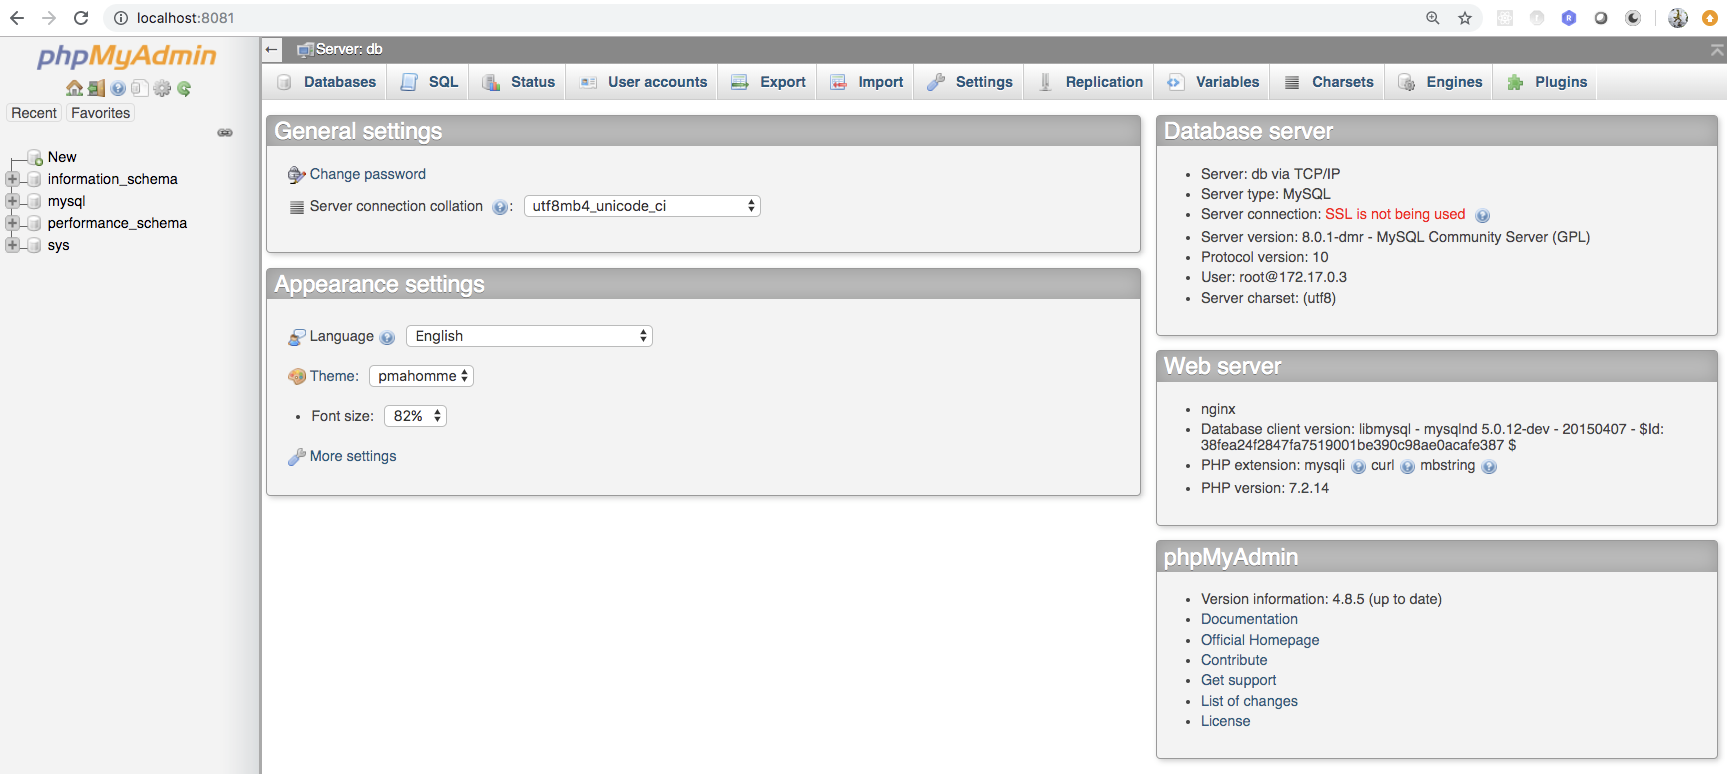
Yes, that’s all…everything is done! Easy right? You only need to open your favourite browser and type the following url: http://localhost:8081/ so your instance of phpMyAdmin will show up. To access, type root as username and the password you established in the step one when running the mysql container (if you followed the tutorial the password is mypass123).
Conclusion
In this post we have demonstrated how easy can be to get your mysql + phpmyadmin platform up and running using docker. If you have any insight, comment or you think something is not right, I would really appreciate your feedback. Otherwise, I hope this tutorial helped you in getting started with docker.
References
- https://hub.docker.com/r/phpmyadmin/phpmyadmin/
- https://docs.docker.com/engine/reference/run/
- https://hub.docker.com/_/mysql